Custom Domain Integration
On creating new organization, system create one non-branded domain for you. For example, example.proexpert.site
Most of the time you want to add your own domain. With proexpert.site, installing your own domain is straight forward. Following are the steps, which you have to follow to install your domain.
1. Update your domain
Go to Settings → Domain. Once at domain settings, click Domain Name tab. Find the domain input and click Change button right at top of the input.
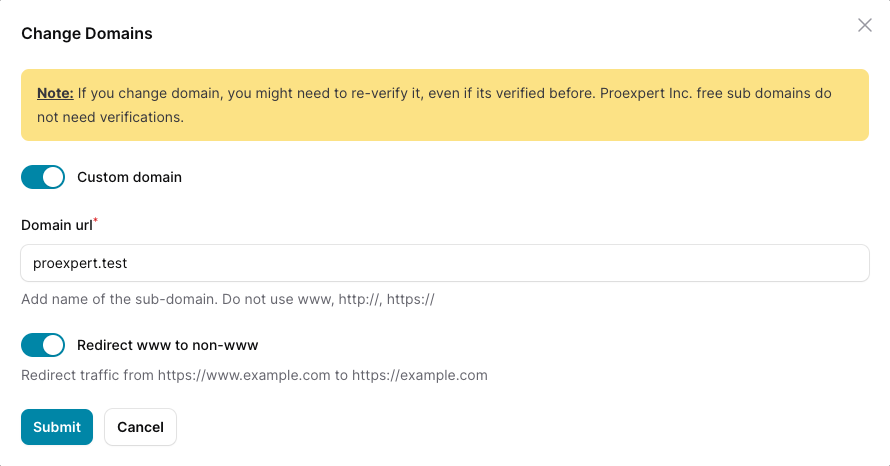
Change Domain modal will open. Make sure Custom domain toggle button is enabled. Add your desired domain host part only. For example, if your domain is example.com add example.com. When done click Submit button.
2. Update DNS setting
Once domain updated, Click the Codes button.
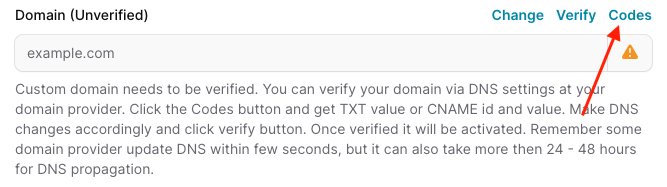
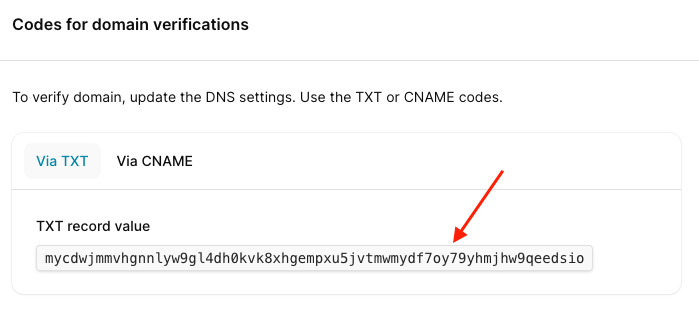
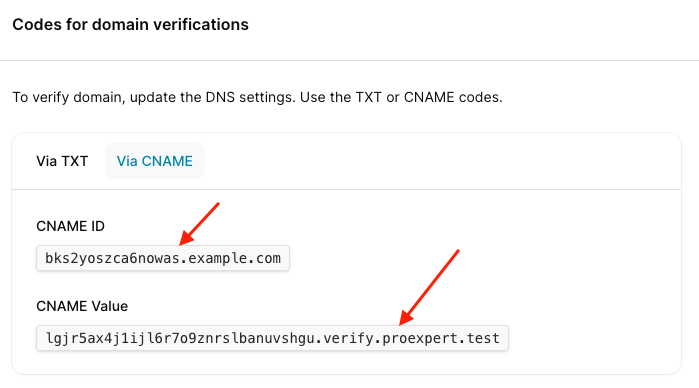
It will show verification codes to be deployed to you DNS provider for domain verification. Out of TXT or CNAME, you can choose any verification record to use for verification
2.1 Verify via TXT record
Grad TXT record value and update your domain DNS with the TXT code value
2.2 Verify via CNAME record
Grad CNAME ID & CNAME value and update your domain DNS with the ID & Value
3. Complete Verification
After updating your domain DNS settings, hit Verify button to complete the verification.
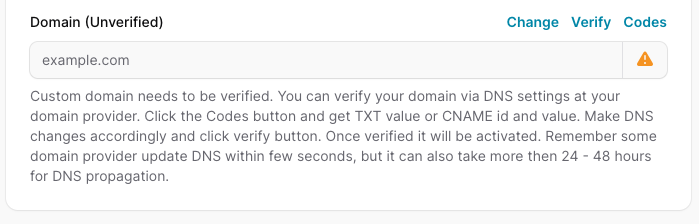
On successful verification, your domain will be activate.